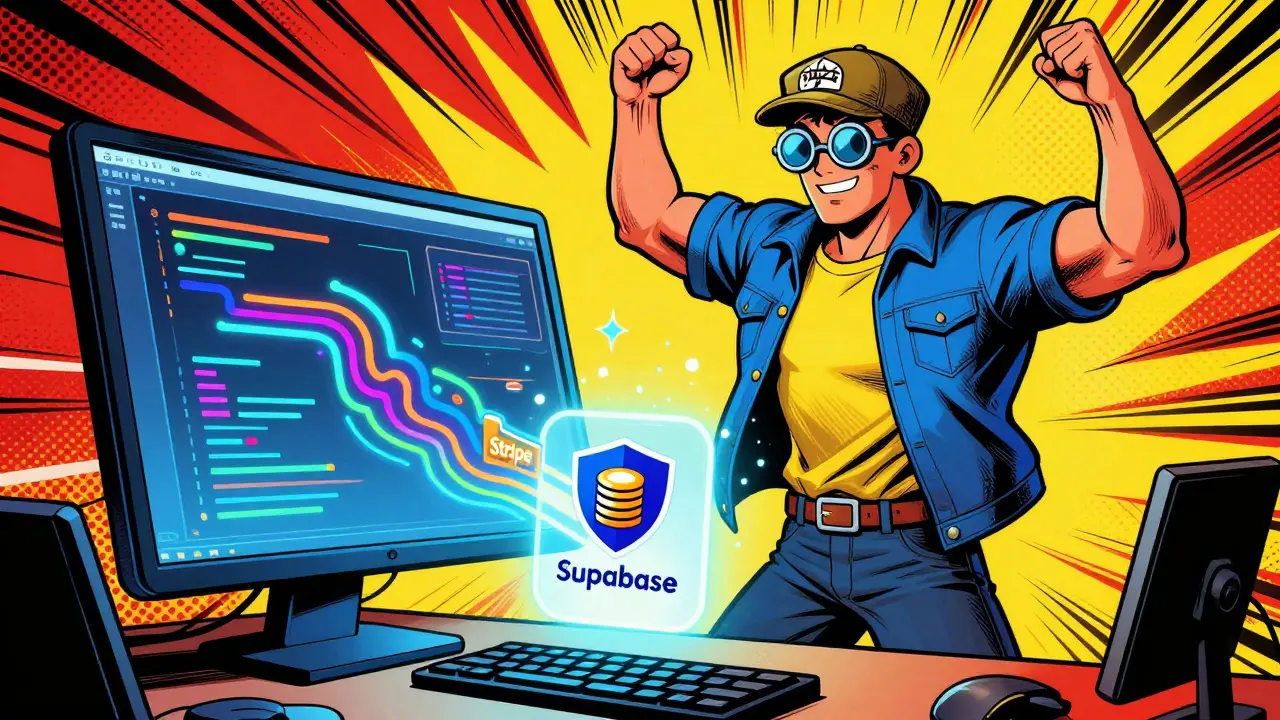
Building a monetized app used to mean weeks of backend work. You had to configure databases, write authentication logic, set up payment gateways, and then spend days debugging why the subscription status wasn't updating after a purchase. In 2026, that timeline has shrunk to hours thanks to vibe coding. By combining AI assistants like Cursor with infrastructure tools like Supabase and Stripe, developers can launch full-featured SaaS products without writing every line of boilerplate code manually.
The magic happens when these two platforms talk to each other. Supabase handles your database and user management, while Stripe processes the money. The challenge isn't connecting them anymore; it's doing it securely so you don't accidentally give away premium features for free or leave your database open to attacks. This guide breaks down exactly how to build this stack, where the common pitfalls are, and how to keep your revenue stream safe.
The Core Architecture: How They Fit Together
To understand the integration, you need to see the roles clearly. Supabase is your backend-in-a-box. It gives you a PostgreSQL database, built-in authentication, and auto-generated APIs. Stripe is your financial engine. It handles checkout sessions, recurring billing, and customer portals. In a vibe-coded application, an AI assistant generates the glue code that connects them.
| Feature | Supabase Responsibility | Stripe Responsibility |
|---|---|---|
| User Data | Stores profiles, preferences, and access levels | Stores billing history and payment methods |
| Authentication | Email/password login, social logins, session management | Customer identification via metadata |
| Payment Processing | None (reads status only) | Handles credit cards, invoices, and fraud detection |
| Logic Flow | Updates user tier based on events | Sends event signals (webhooks) upon success/failure |
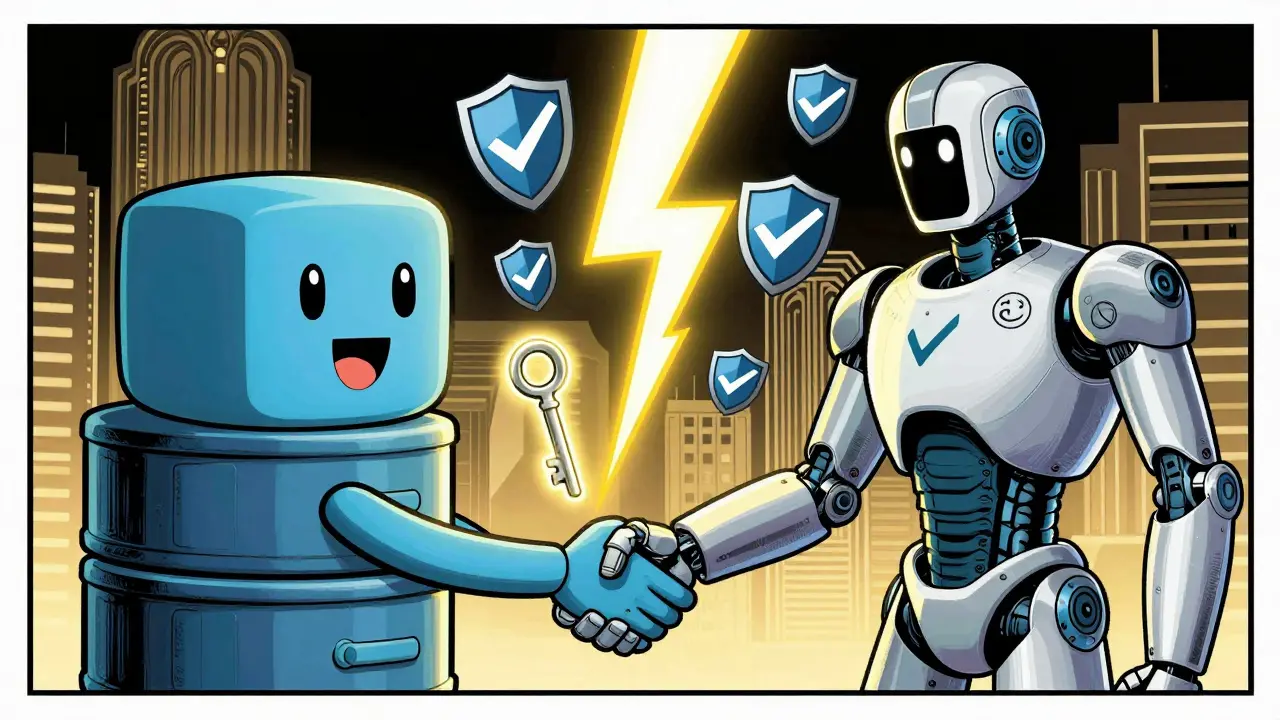
The connection point is the Webhook. When a user pays in Stripe, Stripe sends a secure signal to your server. Your server verifies this signal, then tells Supabase to update that specific user's profile from 'free' to 'premium'. If you skip any step here, your business model breaks.
Setting Up the Database Structure
Before you ask the AI to generate code, your data structure needs to be ready. Supabase uses PostgreSQL, which is strict about types. You need a table that extends the default users table. Most developers create a separate `profiles` table linked by `id`.
Your schema should include fields for:
stripe_customer_id: A text field to link the Supabase user to their Stripe account.subscription_status: A text field storing values like 'active', 'canceled', or 'past_due'.price_id: A text field identifying which plan they bought (e.g., Basic, Pro).current_period_end: A timestamp showing when their next renewal hits.
When using Cursor or similar AI tools, prompt it to "generate a SQL migration for a Supabase profiles table with Stripe subscription fields." This ensures the columns exist before you try to write to them. Without these columns, the webhook will fail silently or throw errors, leaving users paying but stuck on the free tier.
Implementing Secure Webhooks
This is the most critical part of the entire integration. Many beginner tutorials skip security details because they want the demo to work quickly. But in production, skipping security means anyone can fake a payment and get premium access for free.
Here is the correct flow for a webhook handler in a vibe-coded app:
- Receive Raw Body: Your endpoint must read the raw request body. Do not parse it into JSON yet. Stripe needs the exact bytes to verify the signature.
- Verify Signature: Use Stripe's library to check the signature against the
Stripe-Signatureheader and your webhook secret key. If this fails, return a 400 error immediately. Do not process the event. - Identify Event Type: Check if the event is
checkout.session.completedorcustomer.subscription.updated. - Extract Metadata: Pull the Supabase user ID from the session metadata. You must have stored this ID when creating the checkout session.
- Update Database: Use the Supabase Admin Client (with the service role key) to update the user's profile. Never use the anonymous key here, as row-level security (RLS) might block the update.
A common mistake in AI-generated code is omitting the signature verification step. Always double-check that your generated code includes stripe.webhooks.constructEvent or its equivalent. If the AI skips this, rewrite that section manually.
Handling Checkout Sessions
On the frontend, you need to create a Stripe Checkout Session. This is where you tell Stripe what the user is buying. In a vibe-coded workflow, you typically create a function in Supabase Edge Functions or your Next.js API route.
The function takes the user's selected plan price ID and creates a session. Crucially, you must pass the Supabase user ID in the metadata object of the session creation payload. This metadata travels with the session and appears in the webhook later, allowing you to match the payment to the right person.
For example, if a user clicks "Upgrade to Pro," your frontend calls your backend, which runs:
const session = await stripe.checkout.sessions.create({
  mode: 'subscription',
  payment_method_types: ['card'],
  line_items: [{ price: 'price_pro_monthly', quantity: 1 }],
  metadata: { supabase_user_id: user.id }, // Critical link
  success_url: `${process.env.NEXT_PUBLIC_URL}/dashboard?session_id={CHECKOUT_SESSION_ID}`,
  cancel_url: `${process.env.NEXT_PUBLIC_URL}/pricing`
});
After creation, redirect the user to session.url. Stripe handles the card entry and payment confirmation. Once done, Stripe redirects them back to your success URL and fires the webhook simultaneously.
Security Pitfalls to Avoid
Vibe coding accelerates development, but it doesn't automatically fix logical errors. Here are three specific vulnerabilities to watch for in your generated code:
1. Anonymous Key Usage in Webhooks
If your webhook uses the public anon key to update the database, Row Level Security (RLS) policies might prevent the update because the webhook isn't acting as a logged-in user. Always use the SUPABASE_SERVICE_ROLE_KEY inside your webhook environment variables. This key bypasses RLS, allowing the system to update any record. Keep this key secret and never expose it in client-side code.
2. Missing Signature Verification
As mentioned, always verify the webhook signature. An attacker could send a fake POST request to your webhook endpoint claiming a payment was successful. Without signature verification, your app would trust this lie and upgrade the user. The cost of adding five lines of verification code is negligible compared to the loss of revenue from fraud.
3. Test Mode vs. Production Mix-ups
Stripe generates different Customer IDs for test and production modes. If you develop in test mode and then switch to production keys without clearing your database, old test customers won't match new production ones. Ensure your environment variables clearly distinguish between NEXT_PUBLIC_STRIPE_PUBLISHABLE_KEY and STRIPE_SECRET_KEY, and reset your local database when switching environments.

Advanced Features: Portals and Sync Engines
Once basic payments work, you can add self-service features. The Stripe Customer Portal allows users to update their credit cards, change plans, or cancel subscriptions without you building that UI. You simply generate a portal session URL in your backend and redirect the user there.
In 2026, Supabase also offers the Stripe Sync Engine. This is a newer integration feature that automatically syncs Stripe data into Supabase tables. Instead of writing custom webhooks for every event, you can enable this sync to keep your database aligned with Stripe's records. While this reduces manual coding, you still need to understand the underlying data flow to handle edge cases like failed renewals or proration adjustments.
Testing Your Integration
Never go live without testing. Use Stripe's test mode to simulate various scenarios:
- Successful Payment: Use card number
4242 4242 4242 4242with any future expiry date and CVC. - Failed Payment: Use card number
4000 0000 0000 0002to trigger a decline. - Subscription Update: Change the plan in the Stripe Dashboard and ensure the webhook updates the Supabase profile correctly.
Check your Supabase logs during these tests. If the profile doesn't update, look at the webhook handler logs first. Is the signature verifying? Is the user ID being found in the metadata? These are the usual suspects when things break.
Do I need to know SQL to integrate Stripe and Supabase?
You don't need to be an expert, but you need to understand basic table structures. Vibe coding tools like Cursor can generate the SQL migrations for you. However, you must review the generated schema to ensure fields like stripe_customer_id and subscription_status exist in your profiles table. Without these columns, the integration cannot store payment states.
Why is my webhook failing to update the database?
The most common reason is using the wrong Supabase key. Webhooks run on the server side and should use the Service Role Key to bypass Row Level Security (RLS). If you use the Anonymous Key, RLS policies may block the update because the request doesn't come from an authenticated user session. Another cause is missing signature verification, which causes Stripe to reject the setup entirely.
Can I use Stripe Payment Links instead of Checkout Sessions?
Yes, Payment Links are easier to set up as they require no code for the checkout page itself. However, they offer less control over the user experience and metadata passing. For a fully integrated SaaS app where you need to track user tiers dynamically, Checkout Sessions with webhooks provide better reliability and customization options.
Is vibe coding safe for payment integrations?
Vibe coding is safe if you audit the security-critical parts. AI assistants are great at generating boilerplate but can miss subtle security checks like webhook signature verification. Always manually review the webhook handler code to ensure signatures are verified and service role keys are used correctly. Treat AI as a junior developer who needs supervision on sensitive tasks.
How do I handle subscription cancellations?
When a user cancels, Stripe sends a customer.subscription.deleted event. Your webhook should catch this event and update the user's subscription_status to 'canceled' in Supabase. You should also clear the current_period_end or set it to the end of the current billing cycle, depending on whether you want immediate access revocation or grace period access.